# Create New Navigation Tabs
### Types of Navigation Tabs
There are 2 types of Navigation Tabs that can be created:
1. Group: Create groups to group multiple navigation tabs together for better organization. \

2. Navigation: This refers to the individual navigation tab you will be creating.\

### Creating Navigation Tabs
To create a new navigation tab in the CRM Client Portal, follow these steps:
{% tabs %}
{% tab title="Step 1" %}
1. Click on "Add Navigation Settings" to begin creating a new tab.\

2. Choose between "Group" or "Navigation". \

{% endtab %}
{% tab title="Step 2" %}
**Group Creation**
1. Select the "Icon" relevant to the Group you are creating.
2. Fill in the "Group Name" in the respective languages.
3. Click "Confirm". \

{% endtab %}
{% tab title="Step 3" %}
**Navigation Creation**
1. Select the "Icon" relevant to the Group you are creating.
2. Select the "Group" you want to categorize the Navigation Tab under. If you want the navigation tab to be a standalone tab, click "N/A".
3. Fill in the "Navigation Name" in the respective languages.
4. Click "Confirm". \

{% endtab %}
{% endtabs %}
### Navigation Tab Content
Once you have created the navigation tabs in the CRM Client Portal, you will need to input the content. There are two ways to do this:
1. **Embedding a Link:** You can create a tab by embedding a link to external content or webpages. This allows you to direct clients to specific resources, websites, or any relevant content you wish to share. Simply provide the URL or link to the desired content, and it will be accessible to clients through the navigation tab.
2. **Inputting Your Own Content:** Alternatively, you can input your own content directly into the custom tab. This gives you the flexibility to create and display personalized content for your clients. You can use this feature to share announcements, guides, educational materials, or any other information you deem valuable. By inputting your own content, you have full control over the information you provide to your clients.
To input the navigation tab content, follow these steps:
{% tabs %}
{% tab title="Step 1" %}
1. Click on the "Edit" icon associated with the navigation tab you wish to set up.\

2. Choose between "Link Embedding" or "Content Input" options.
{% endtab %}
{% tab title="Step 2" %}
1. For "Link Embedding", simply enter the desired link or URL for the tab.
2. You can click on parameters to embed into the link. Multiple parameters can be selected.
3. Embedding parameters enables client-specific data to pass automatically to third-party tools for personalized access.
4. Click "Confirm" to save your changes.
{% endtab %}
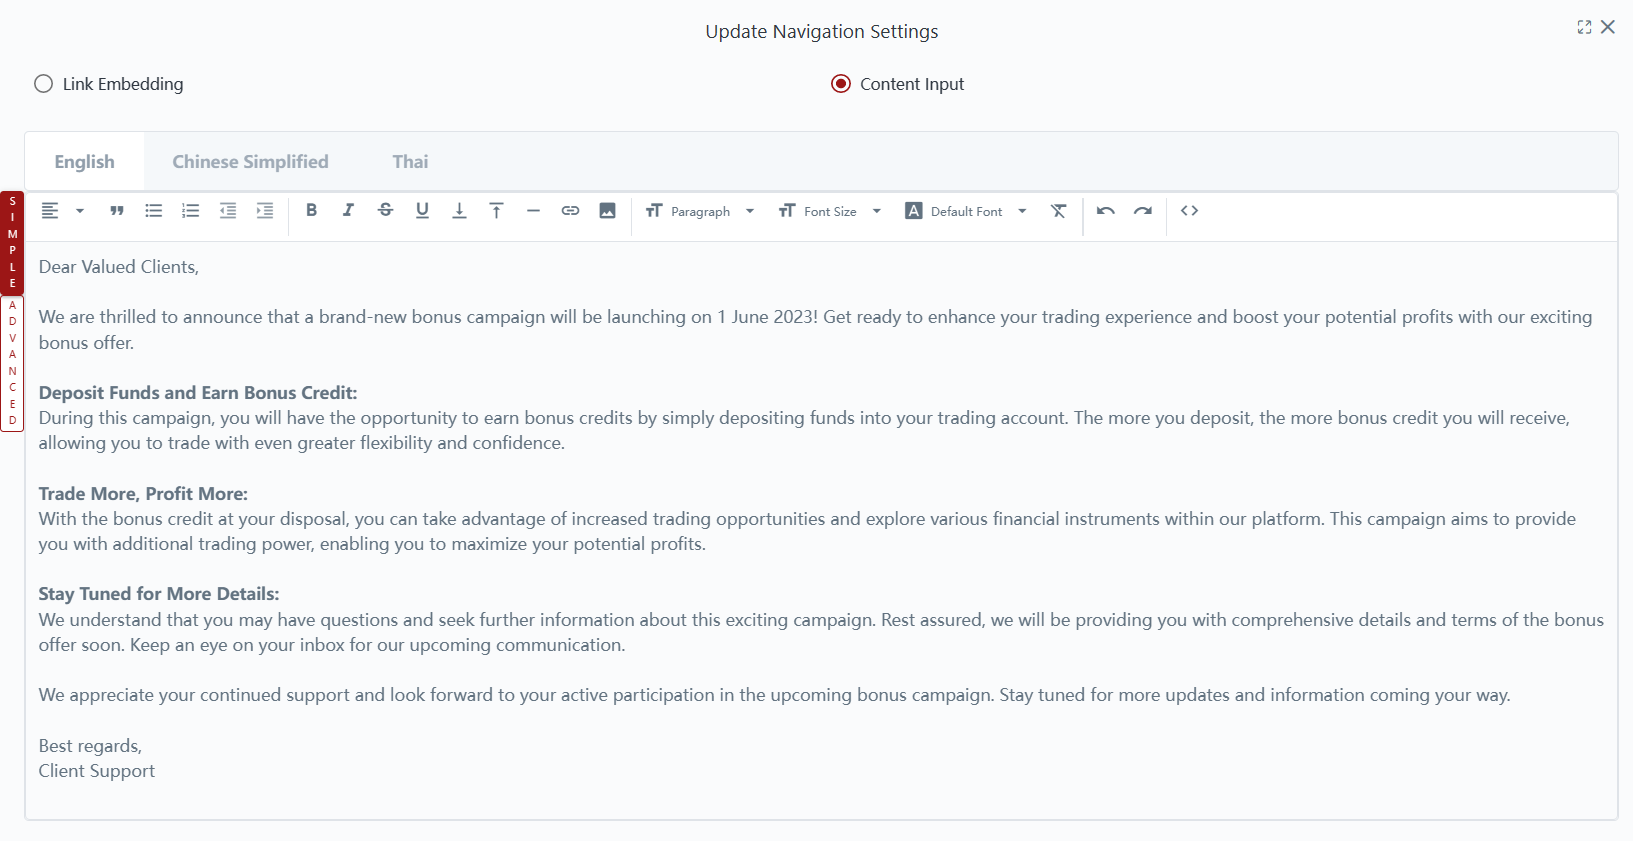
{% tab title="Step 3" %}
For "Content Input", you have three options to input the content:
1. Simple - Add in Content: Enter the content directly into the provided field.
2. Simple - HTML Code: Input custom HTML code for more advanced design and customization.
3. Advanced - AI Editor: Utilize the AI editor function available on the CRM for more advanced content creation. (Please refer to this section for more details: [advanced-method-ai-editor](https://reference-guide.gitbook.io/crm-back-office-user-guide-full/11.-notify/email-notifications/send-email-notifications/advanced-method-ai-editor "mention"))
4. Click "Confirm" to save the changes.
{% endtab %}
{% endtabs %}
### Permissions
After creating the Navigation tabs, you will need to grant appropriate permissions to the relevant Client Groups. (For more details, please refer to this section: [editing-client-group-permissions](https://reference-guide.gitbook.io/crm-back-office-user-guide-full/17.-settings/client-portal-client-group-settings/editing-client-group-permissions "mention"))
### Application
1. Groups Created \

2. Navigation Tabs Created