
Client Portal - Open Account Settings
This is an abridged version of the user guide, highlighting essential features. To access the full version with detailed steps, kindly reach out to your dedicated Account Manager.
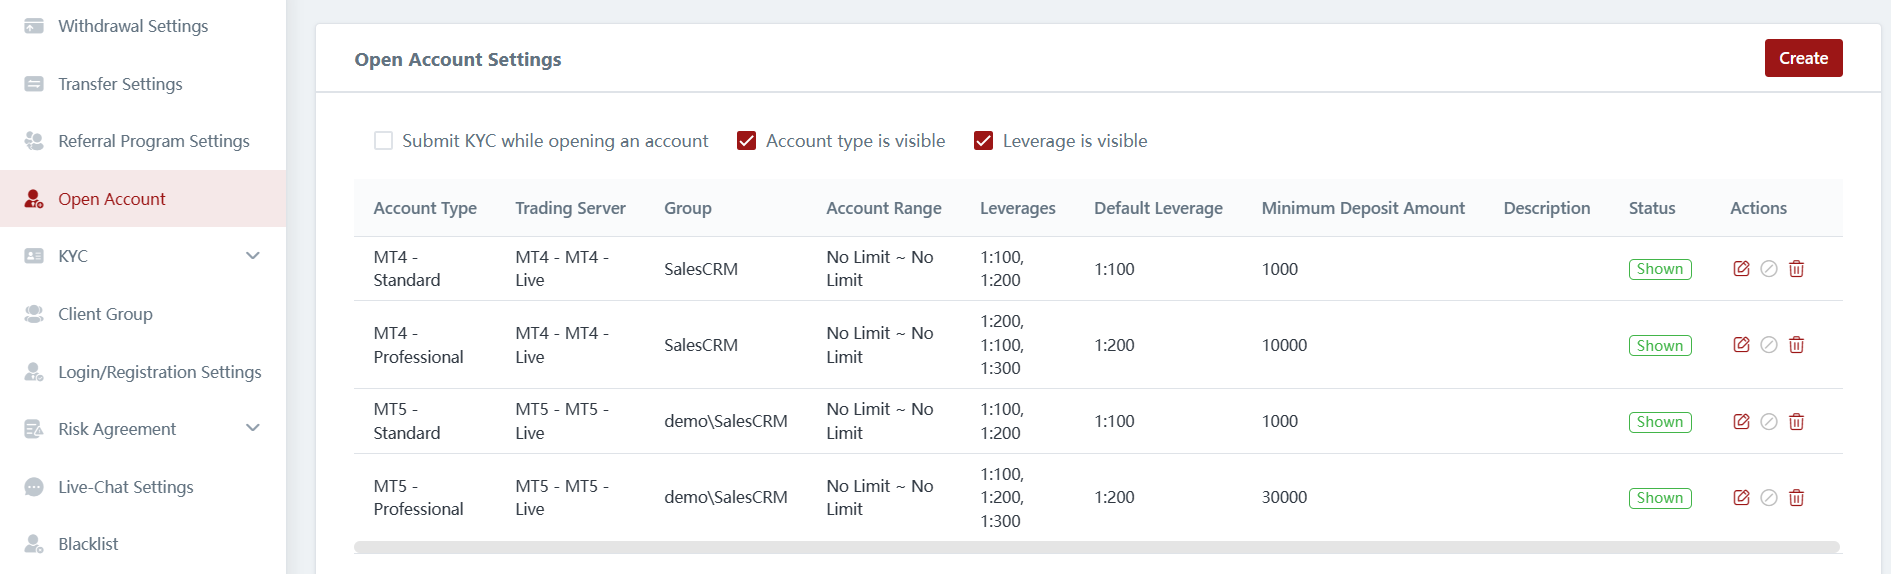
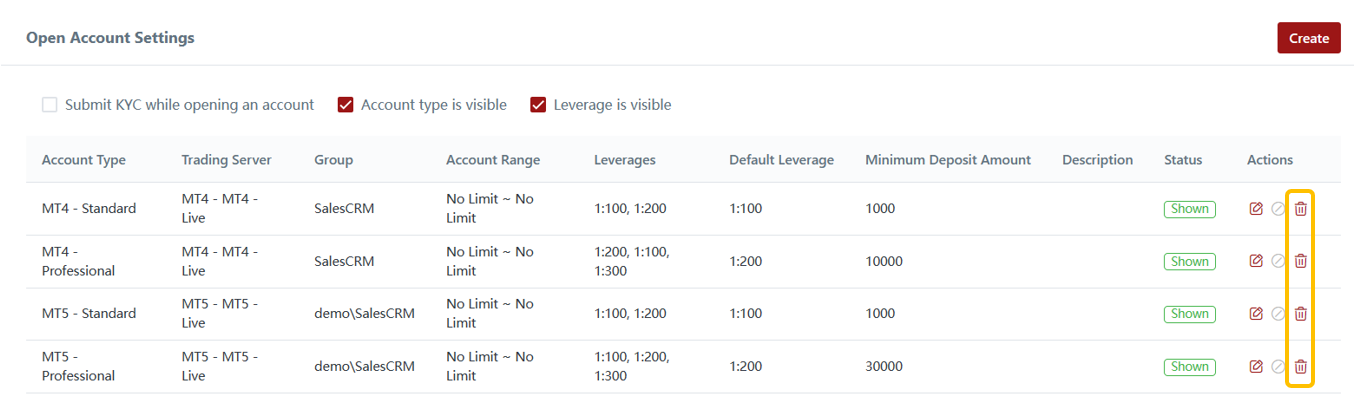
In the open account settings, you have the flexibility to configure different trading account types for your clients based on their risk rating and profile. This allows you to customize the account settings to suit the specific needs and preferences of different types of clients. You can set parameters such as the default leverage, trading account number range, deposit amount range, and more, ensuring a tailored trading experience for each client.
1) Account Type Settings
You can also configure the following settings for your account types:
Submit KYC while opening an account: Enabling this option allows clients to submit their KYC information while opening a trading account. This streamlines the account opening process for clients by combining the submission of KYC details into a single step.
Account Type is visible: By selecting this option, the available account types will be visible to clients. This allows them to see and select the account type that best suits their needs from the provided options.
Leverage is visible: Enabling this option allows clients to view and select from the available leverage options that have been set. They can choose the leverage that aligns with their trading preferences and risk appetite.
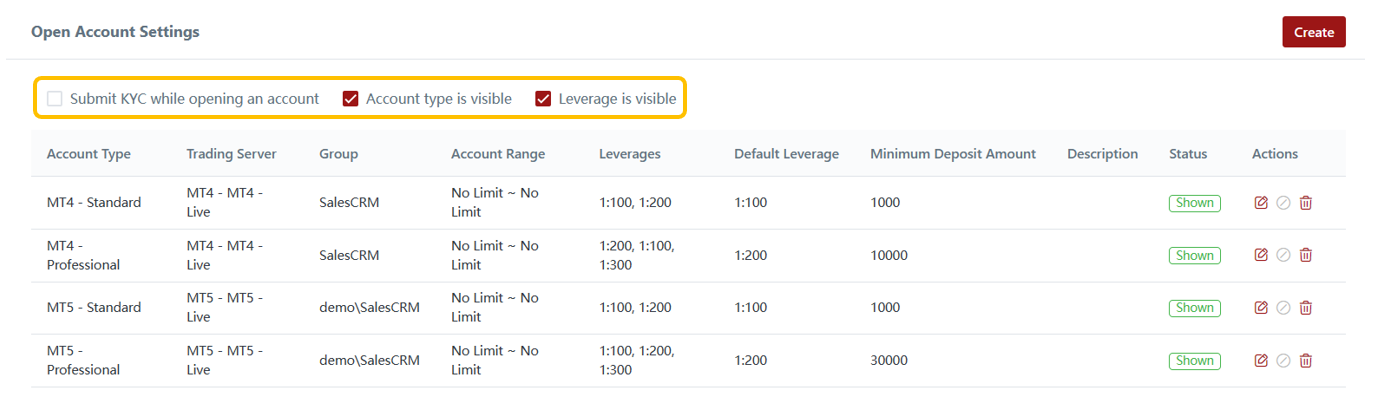
2) Editing Account Type Settings
You can edit account type settings by clicking the "Edit" button.
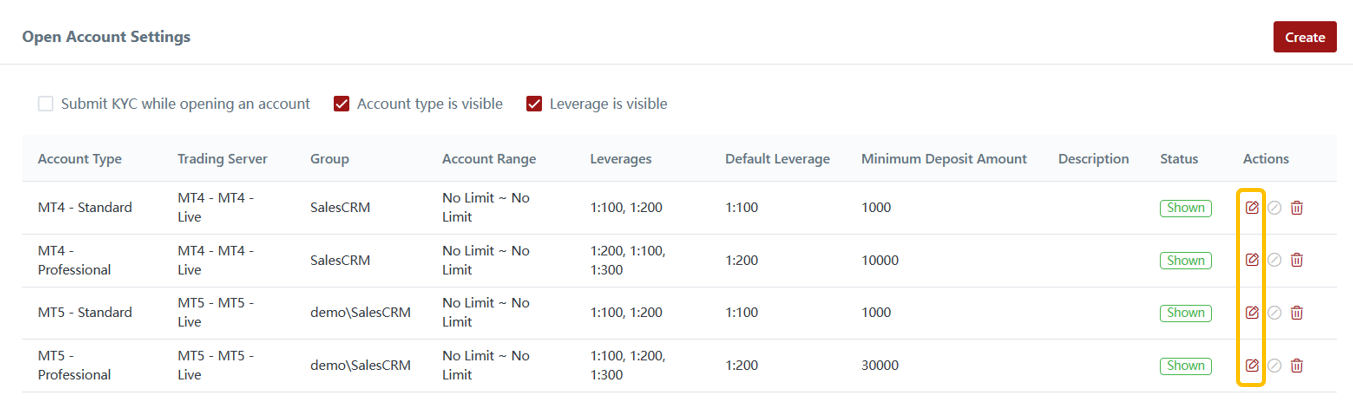
3) Enable & Disable Account Type
You can enable or disable account types from your clients. Disabled account types will not be shown to your clients.
4) Deleting Account Types
You can delete account types that are irrelevant or no longer required.
Last updated