
Back Office Portal - Brand Settings
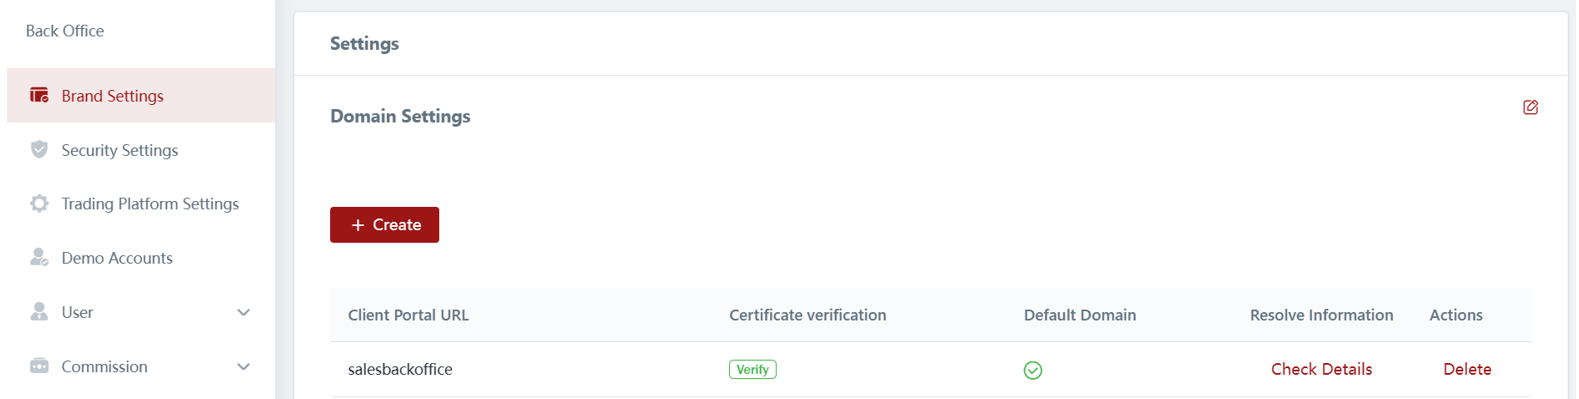
1) Domain Settings
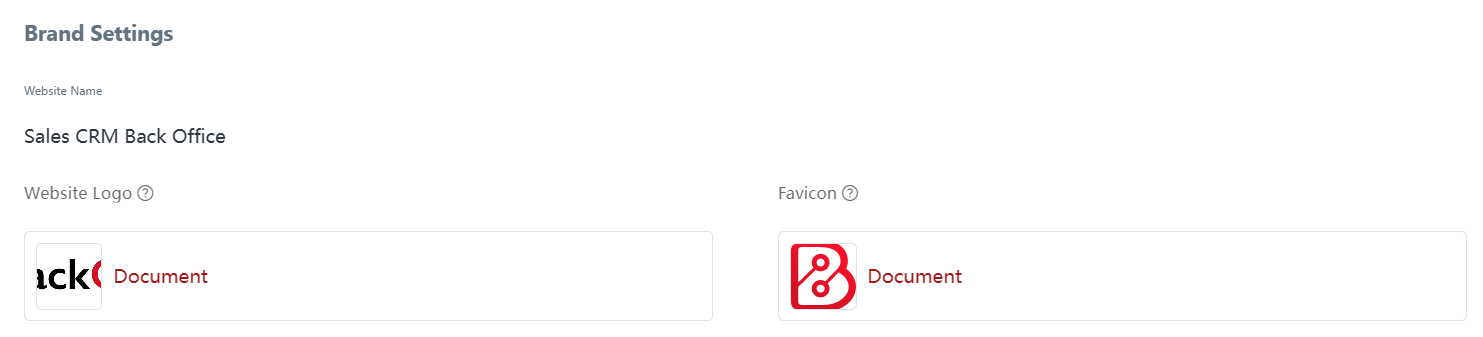
2) Brand Settings

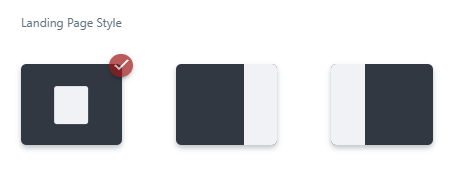
Landing Style: Choose the desired landing page style for your CRM Back Office Portal - center, left, or right. This option allows you to customize the layout and positioning of the content on the landing page, making your CRM look more unique and tailored to your brand's aesthetics.
3) Login Page Configuration

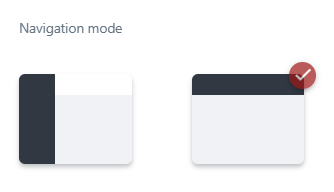
Navigation Mode: Decide the placement of the navigation menu on the CRM Back Office Portal. You can choose to have it positioned at the top or on the left side, based on your preference and design requirements.
Last updated