| Trader Registration | Done by Client | Traders can register a CRM account from the registration link. |
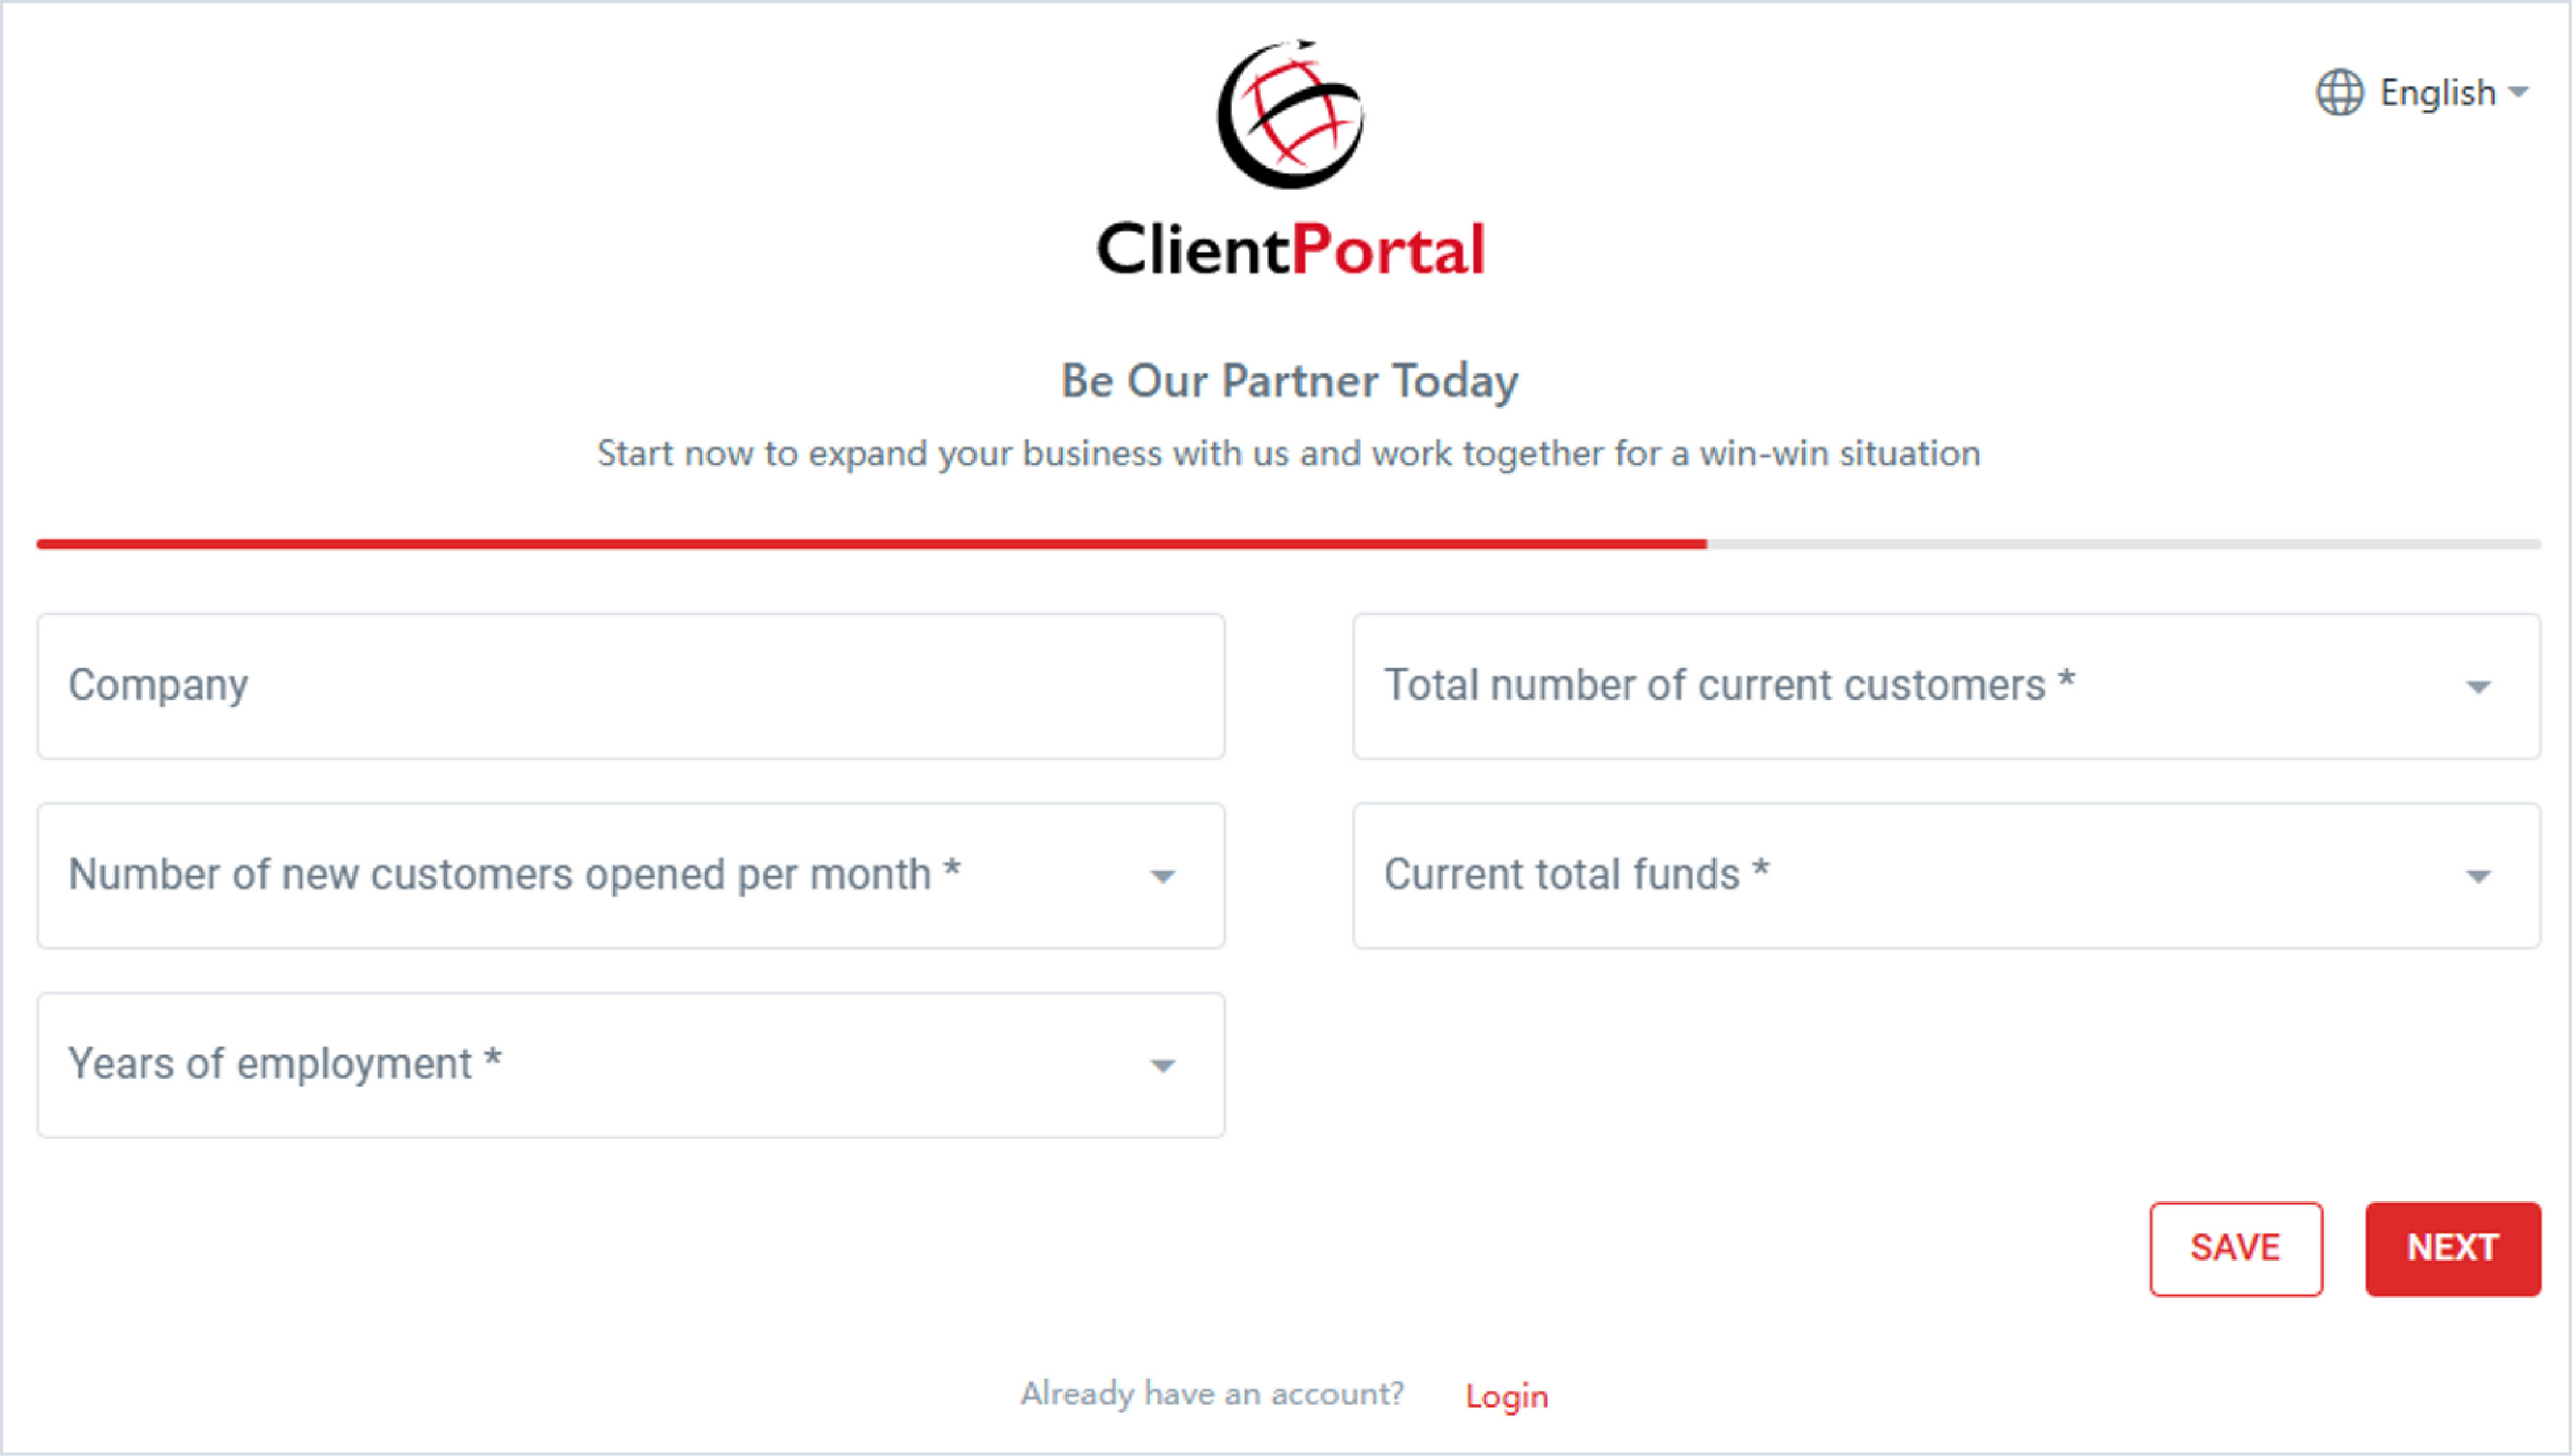
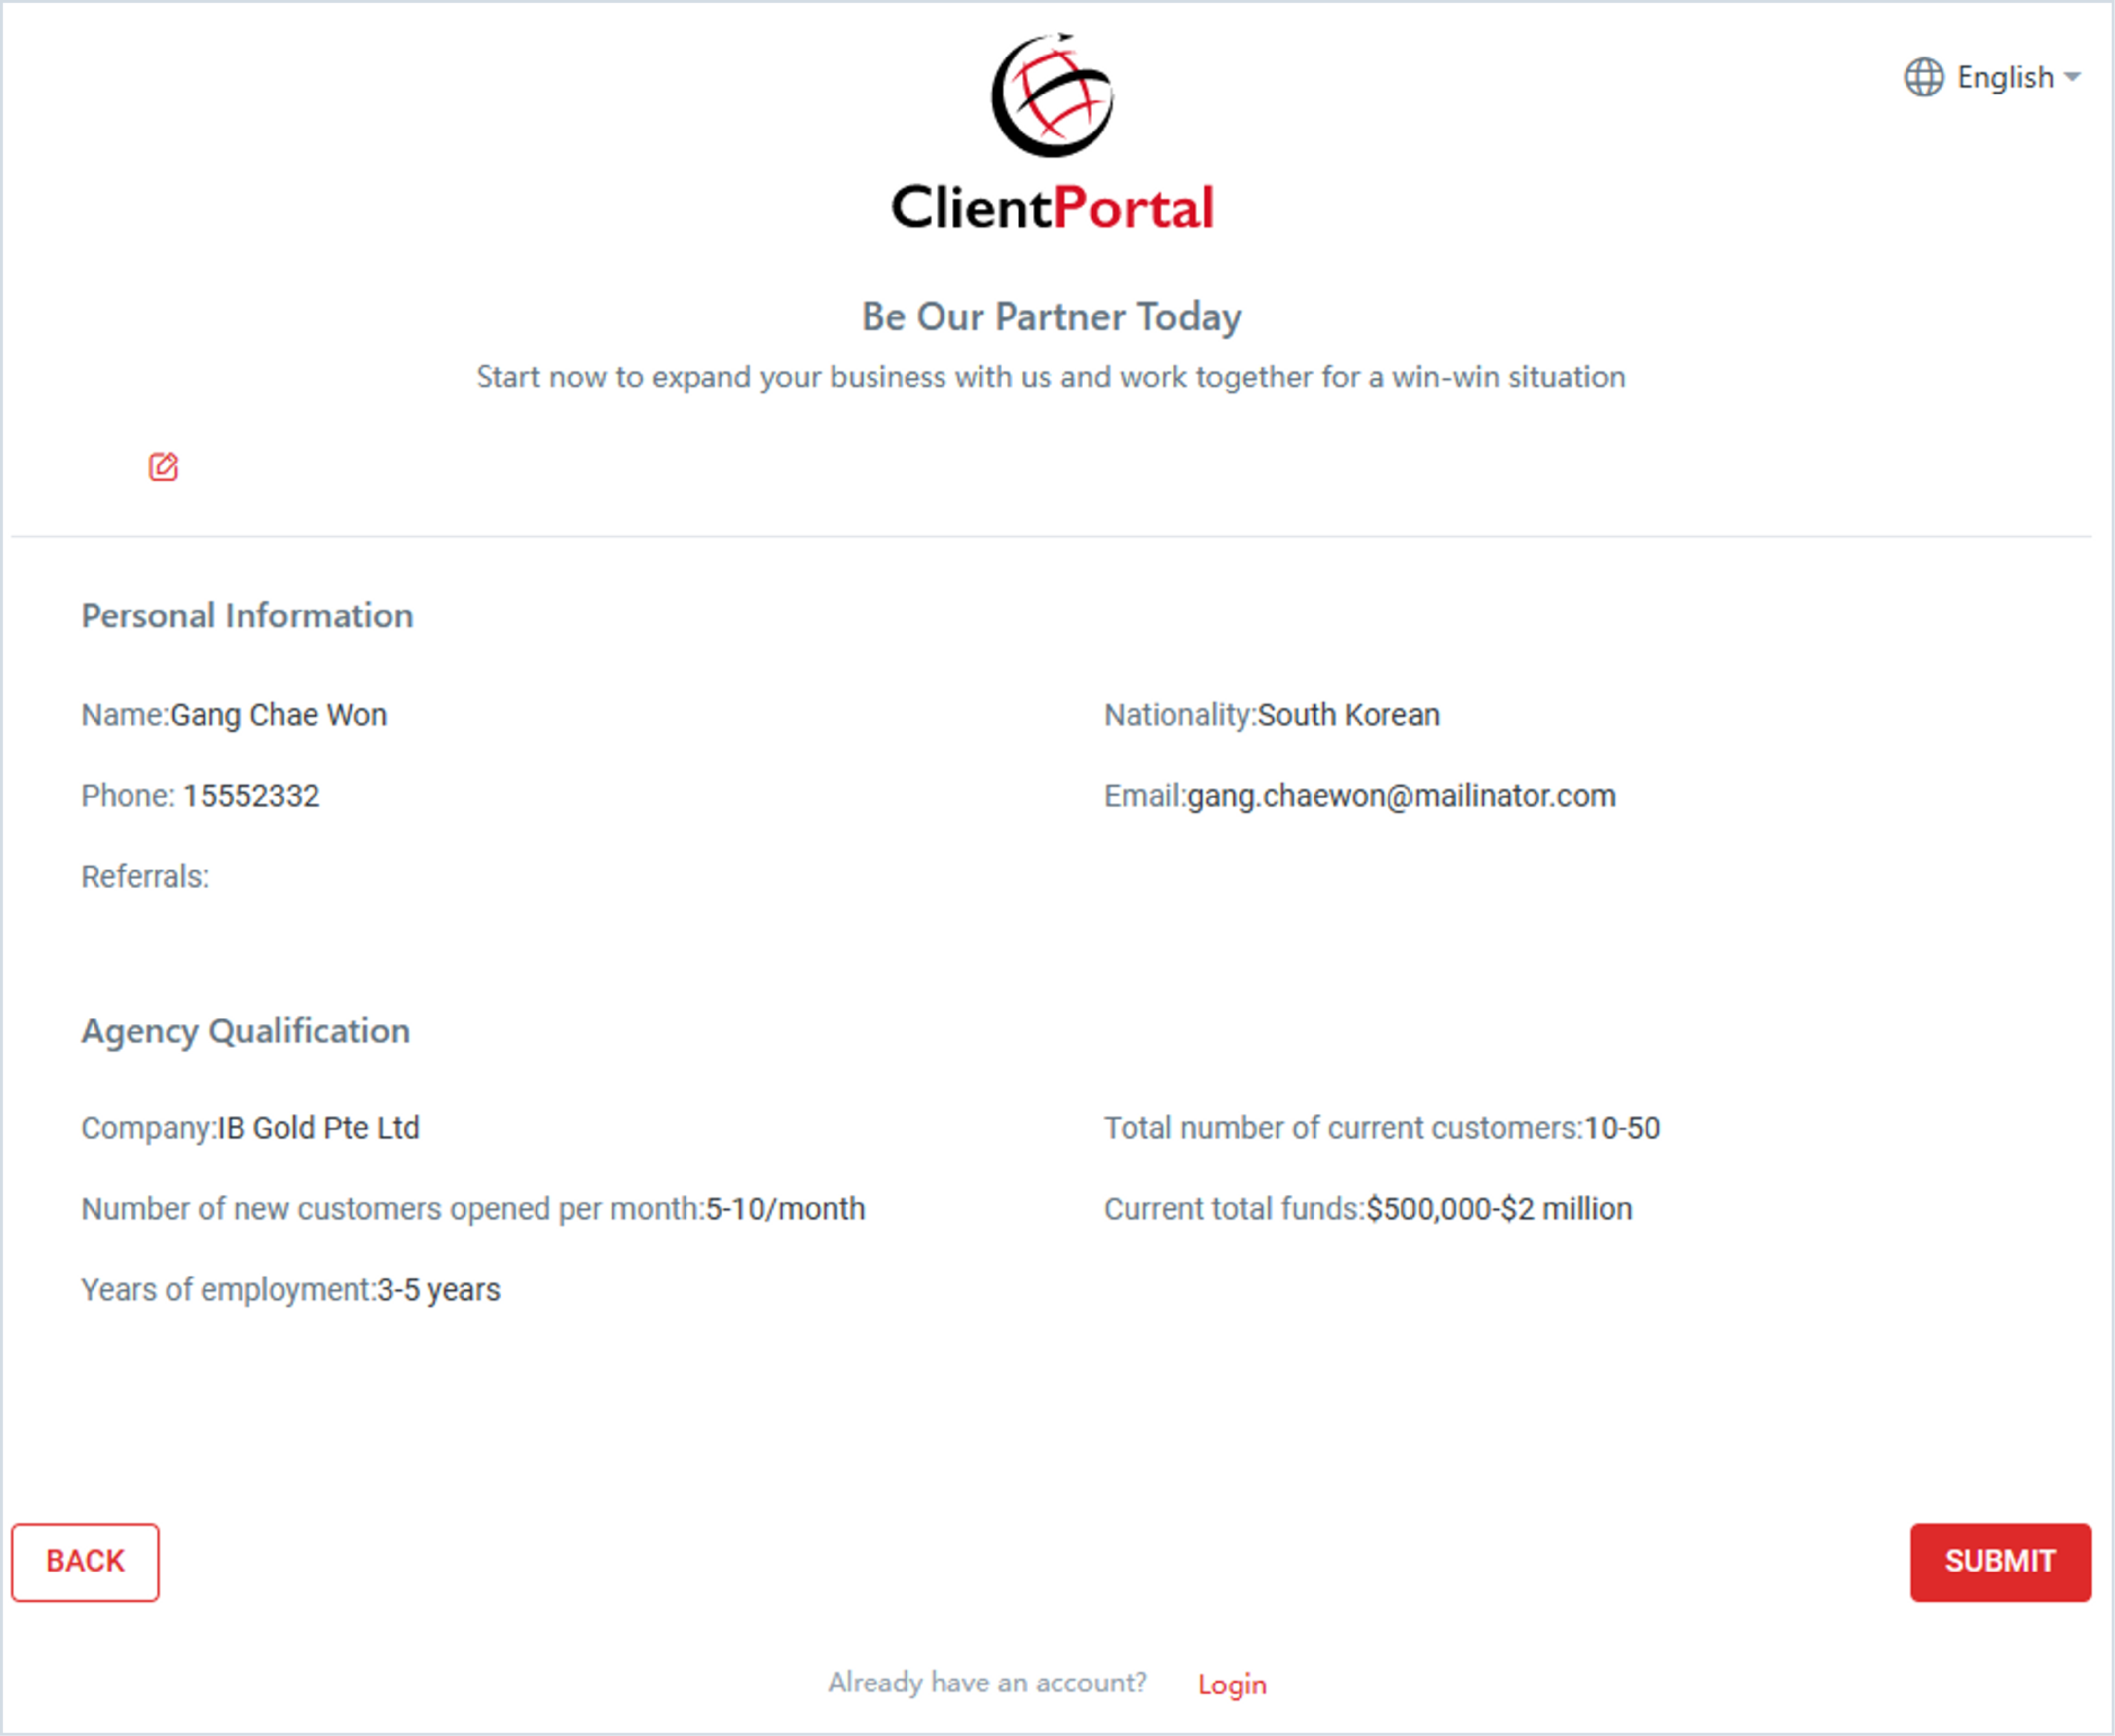
| IB Registration | Done by Client | IBs can register a CRM account from the registration link. |
| Registration via Back Office | Done by Back Office User | You can assist to create CRM accounts for your clients and IBs via the CRM Back Office. |