# Login Page Configuration
In the Login Page Configuration settings, you can customize various aspects to enhance the user experience. Here are the options you can configure:
1. [**Login Background Image**](#login-background-image-and-login-logo)**:** Choose a visually appealing image to create a unique and visually appealing login page. This helps create a positive first impression for your users.\
\

2. [**Login Logo**](#login-background-image-and-login-logo)**:** Set your brand logo to be displayed on the login page. This helps reinforce your brand identity and creates a consistent visual representation across your CRM.
3. [**Navigation Mode**](#navigation-mode)**:** Decide the placement of the navigation menu on the CRM. You can choose to have it positioned at the top or on the left side, based on your preference and design requirements.
* Left
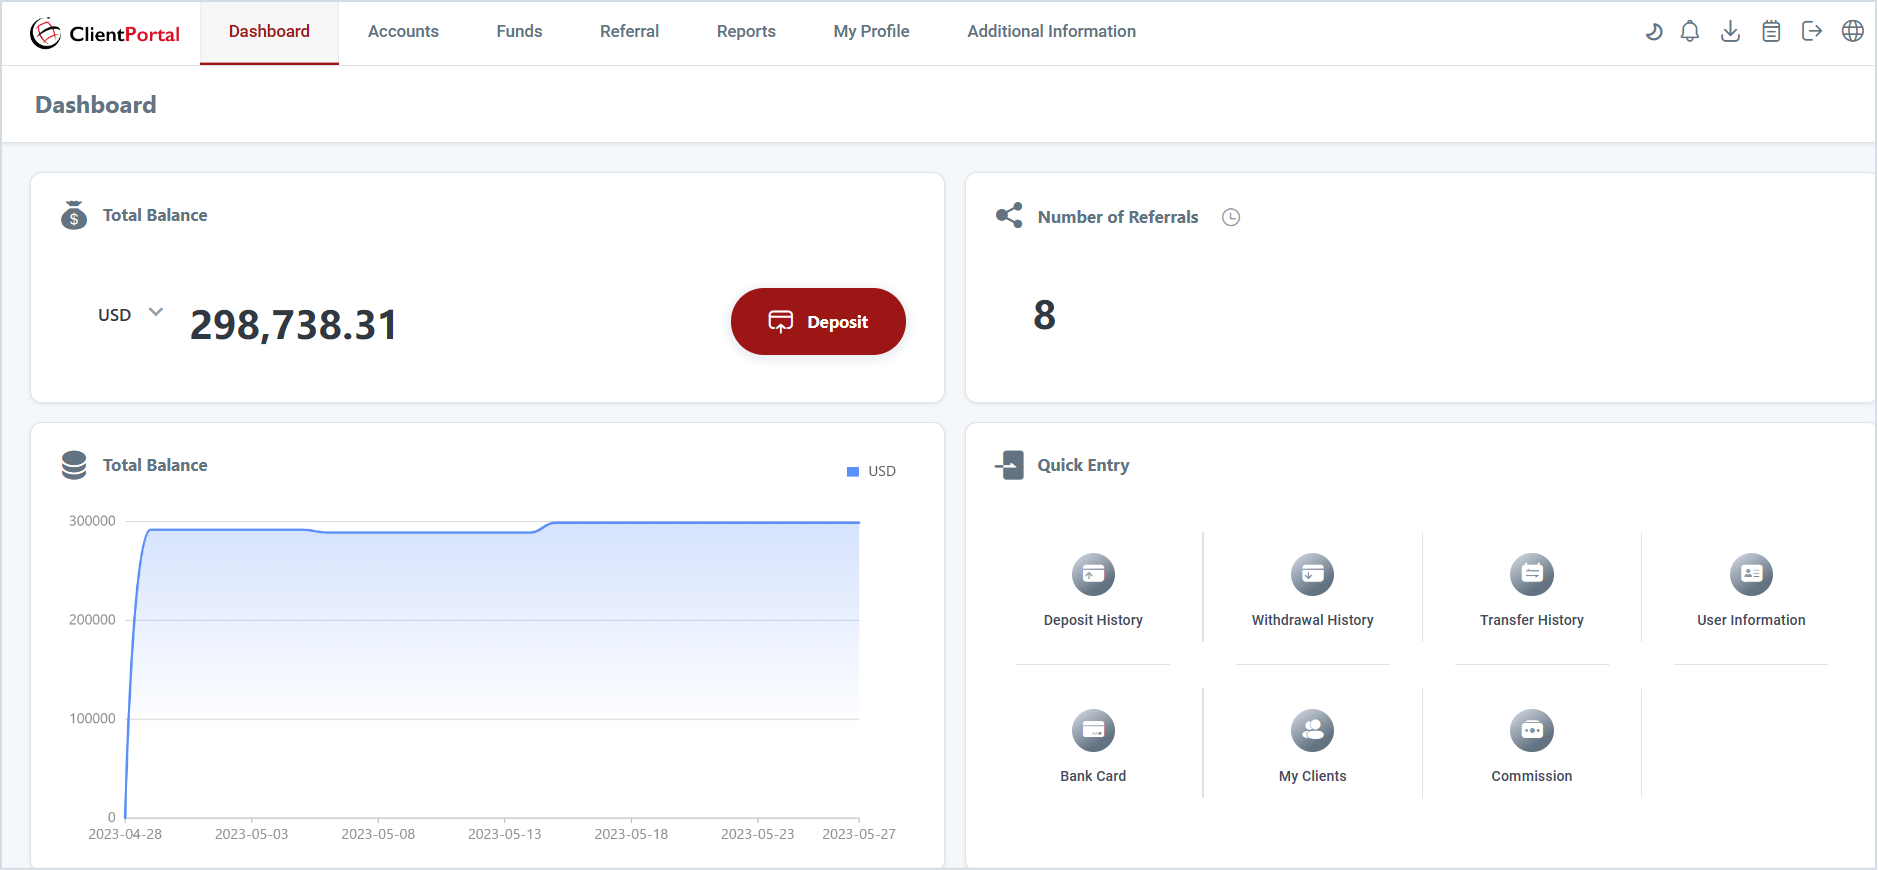
* Top
4. [**System Language & Default Language**](#system-language-and-default-language)**:** Customize the available languages for the CRM. You can select multiple languages to cater to a diverse user base. Additionally, you can set a default language that will be displayed when users access the portal. This allows users to view and interact with the CRM in their preferred language, enhancing their overall experience.
Login Background Image & Login Logo
To set up the Login Background Image and Login Logo, follow these steps:
1. For Client Portal domain, navigate to Settings > Client Portal > Brand Settings. For Back Office domain, navigate to Settings > Back Office > Brand Settings.
2. Upload the image file you want to use as the Login Background Image or Login Logo from your device.
3. Once the upload is complete, click the "Save" button to save your changes. Navigation Mode
To set up the navigation mode for the CRM, please follow these steps:
1. For Client Portal domain, navigate to Settings > Client Portal > Brand Settings. For Back Office domain, navigate to Settings > Back Office > Brand Settings.
2. Choose the preferred navigation mode: Left or Top.
3. Click on the "Save" button to save the changes. System Language & Default Language
To set up the system language and default language for your CRM, follow these steps:
1. For Client Portal domain, navigate to Settings > Client Portal > Brand Settings. For Back Office domain, navigate to Settings > Back Office > Brand Settings.
2. Select the desired system languages from the available options.
3. Once you have selected the system languages, they will be displayed under the "Default Language" section. Choose the default language that will be displayed initially for the CRM.
4. Click on the "Save" button to save the changes.