# Domain Settings
In the Domain Settings page, you can configure the domain for both your Client Portal and Back Office. This feature enables you to add multiple domains for various purposes, such as catering to different client regions or organizing promotional events.
Benefits of using different domains include:
1. **Regional Customization:** Assign specific domains to different client regions, delivering a localized experience tailored to their preferences and needs. This ensures personalized and targeted engagement with your clients.
2. **Promotional Events:** Create dedicated domains for specific promotional events or campaigns. By utilizing separate domains, you can track the success rate of each event through the promotional links tab. This allows you to analyze the effectiveness of your marketing efforts and make data-driven decisions for future events.
3. **Personalization for IBs:** Allocate different domains to individual IBs, providing them with their own personalized CRM Client Portal domain. This enhances their experience and enables you to track the performance of each IB via the promotional link tab.
Creating A New Domain
To create a new domain, follow the steps below:
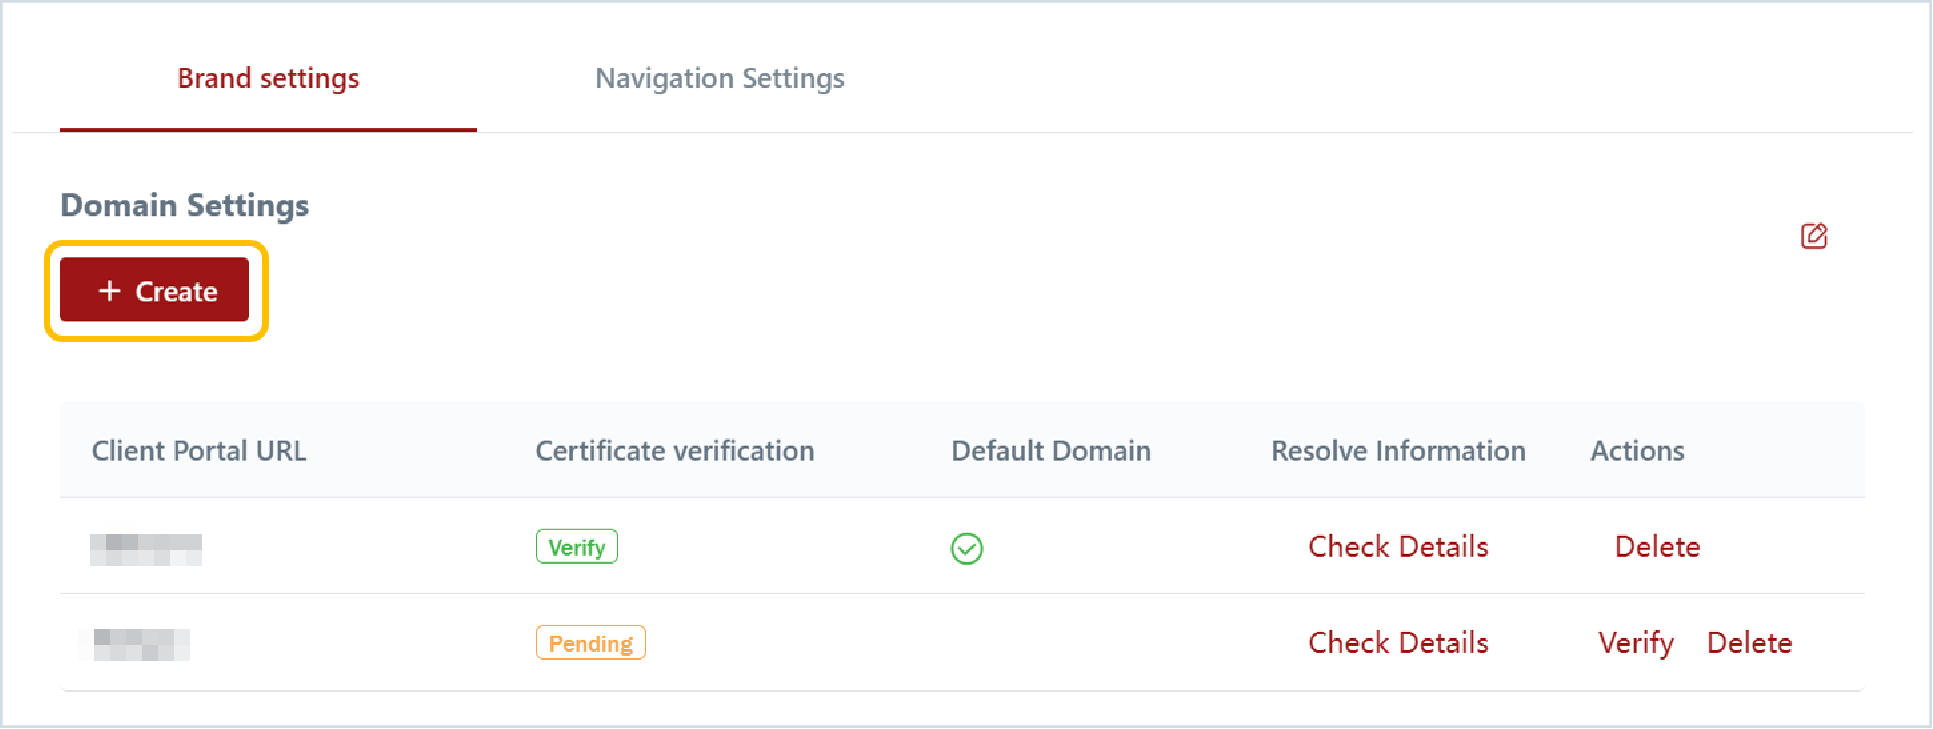
1. For Client Portal domain, navigate to Settings > Client Portal > Brand Settings. For Back Office domain, navigate to Settings > Back Office > Brand Settings.
2. Click "Create" to start the domain creation process.
3. Enter the desired new domain name, excluding "https\://".
4. Resolve the server to Cloudflare name server by following the provided instructions in the link provided. This ensures proper linking of your domain to the Cloudflare DNS service.
5. Access your Cloudflare DNS server and acknowledge the CNAME records.
6. You can find the CNAME record details by clicking "Check Details" in the CRM.
7. The CNAME record details will be displayed accordingly.
8. Once the records have been resolved, click "Verify" to initiate the verification process.
9. Upon successful verification, your new domain will be ready to use.
10. You can set a default domain by clicking "Set as Default". Deleting A Domain
To delete a domain, follow the steps below:
1. Locate the domain you want to delete and click the "Delete" icon.
2. A popup notice will appear, click "Confirm" to proceed to delete the domain. Why Cloudflare?
1. **Improved CRM Access Speed:** Cloudflare's global network infrastructure ensures that your CRM is accessible quickly and efficiently, regardless of the user's location or internet service provider.
2. **Protection against DDOS Attacks:** Cloudflare's robust security features help to mitigate and prevent Distributed Denial of Service (DDOS) attacks, safeguarding your CRM from disruptions and ensuring uninterrupted service.
3. **Enhanced Data Security:** Cloudflare provides additional layers of security, including SSL encryption and web application firewall, to protect your CRM data from unauthorized access and malicious activities.
4. **Mitigation of Risk:** By using Cloudflare as a DNS domain server, you can prevent the risk of malicious complaints or attempts to trace back to the broker's server location, ensuring the privacy and security of your brokerage operations.