How To Setup Your Prop Broker (Abridged)
Prop Trading Back Office User Guide
  • How To Setup Your Prop Broker
  • 1. Branding Setup
    • Domain Settings
    • Brand Settings
    • Login Page Configuration
    • Navigation Settings
  • 2. User & Role Management
    • Role Management
    • User Management
  • 3. Client Onboarding Process
    • Registration Form
    • Onboarding Flow
    • KYC Policies
    • Client Registration Process
    • Client KYC Process
  • 4. Client Group Settings
    • Client Groups
    • Sensitive Fields
  • 5. Referral Program Settings
    • Referral Program Banner
  • 6. Deposit Settings
    • Deposit Account Settings
    • Payment Method Settings
    • Payment Gateway Icon
    • PSP Settings
  • 7. Withdrawal Settings
    • Withdrawal Account Settings
    • Withdrawal Method Settings
    • Match2Pay Withdrawal
  • 8. Trading Platform Settings
    • Synchronization with CRM
  • 9. IB Commission Settings
    • Ranks
    • Symbol Groups
    • Rule Settings
    • Fixed Commission Scheme
    • Flexible Commission Scheme
  • 10. Email Settings
    • Email Provider
    • Notification Templates
  • 11. Approval Settings
    • Types of Approval Methods
    • Approval Method Settings
    • Multi-Level Approval
  • 12. Promotional Link Settings
    • Creating Promotional Links
    • Sharing Promotional Links
    • Viewing Performance Analytics of Promotional Links
  • 13. Prop Trading Settings
    • Marketplace Installation & Permission Settings
    • Prop Challenge Structure
    • Prop Challenge Menus
    • Prop Trading Dashboard
    • Viewing Prop Challenges
    • Setting Up Prop Challenges
    • Participants
    • Challenge Statistics
    • Profit Sharing
    • Participating in Prop Challenges
    • Prop Trading Challenges
  • 14. Coupons & Promo Codes
  • 15. Go Live
  • 16. Other Functionalities
Powered by GitBook
On this page
  1. 2. User & Role Management

Role Management

Previous2. User & Role ManagementNextUser Management

Last updated 1 year ago

This is an abridged version of the user guide, highlighting essential features. To access the full version with detailed steps, kindly reach out to your dedicated Account Manager.

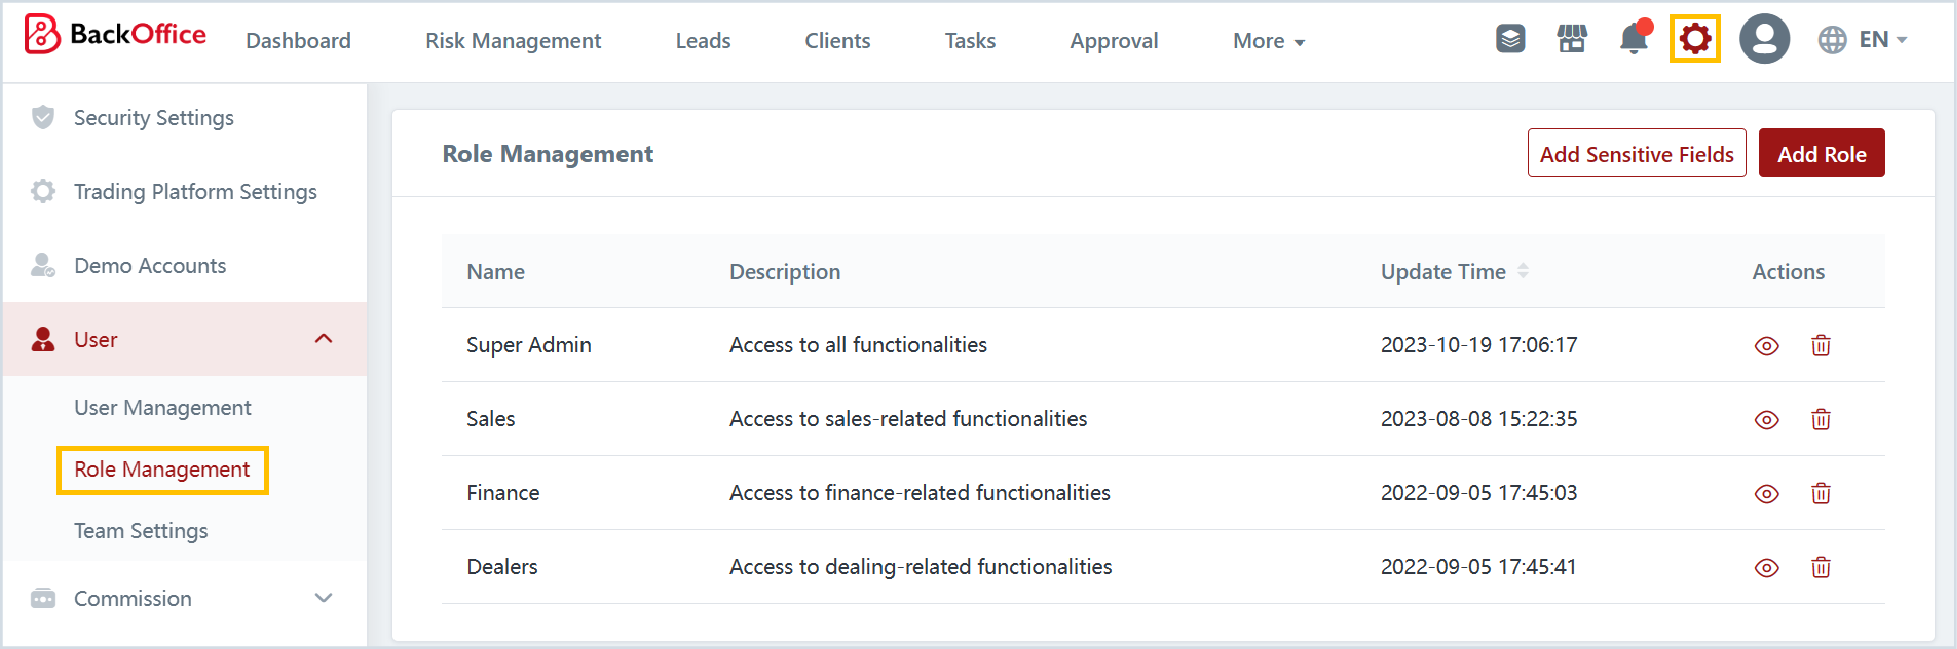
Within the Role Management tab (Settings > Role Management), you have the capability to customize and allocate specific permissions for various roles. This functionality empowers you to precisely define the level of access accorded to each team member, ensuring that individuals possess the necessary permissions aligned with their responsibilities and tasks.

You can also configure data permissions for different roles, allowing you to set data restrictions based on specific criteria.

Setting data permissions allows brokers to restrict users' access to client and lead data, ensuring that they can only view the data they are directly involved with. This helps maintain data privacy and confidentiality, as well as streamlines workflow by focusing users' attention on relevant information.