
Brand Settings
This is an abridged version of the user guide, highlighting essential features. To access the full version with detailed steps, kindly reach out to your dedicated Account Manager.
In the Brand Settings page, you can configure the following options for your Prop Trading System:
Website Name: Specify the name that will be displayed on the browser tab when users access your CRM. This allows you to personalize the branding and ensure that users easily recognize and identify your CRM website.
CRM Logo: Upload and set your desired logo to appear on the CRM Client Portal and Back Office. This allows you to showcase your brand identity and create a consistent visual representation for your users. You can setup 3 different logos:
Website Logo: This logo will be displayed on the CRM when users log in.

Favicon: The favicon is the small icon that appears on the browser tab when users open your CRM in a web browser.

APP & PWA Icon: This logo represents your mobile application or Progressive Web Application (PWA). It is displayed as the app icon on the home screen of users' devices.

Theme Color: Choose the theme color that aligns with your brand's visual identity. This color will be applied to various elements throughout the CRM, providing a cohesive and branded experience for your users.
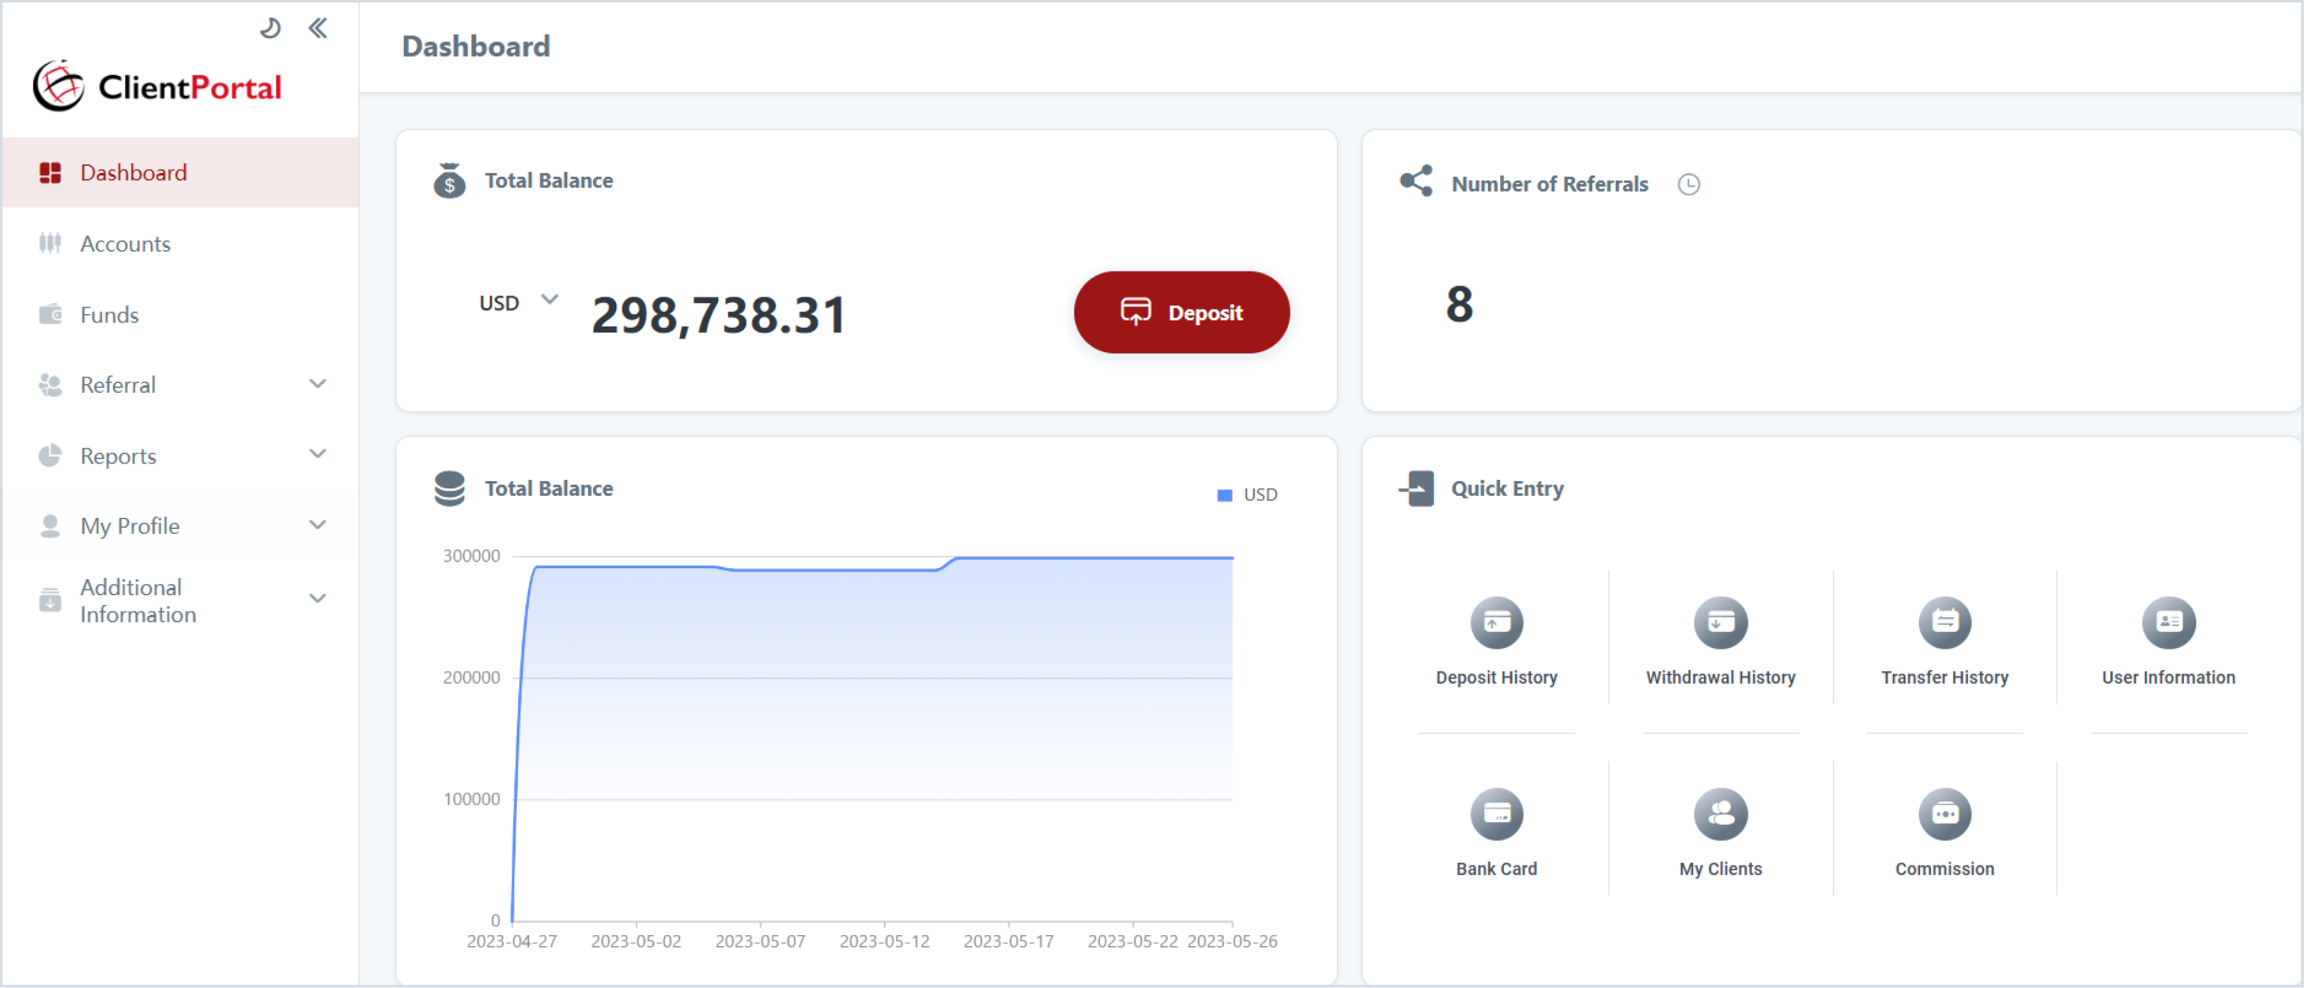
Default Mode: Select the default mode for the CRM interface - light mode or dark mode. When users access the CRM, the selected default mode will be displayed, offering a preferred visual experience from the moment they log in.
Light Mode
Dark Mode

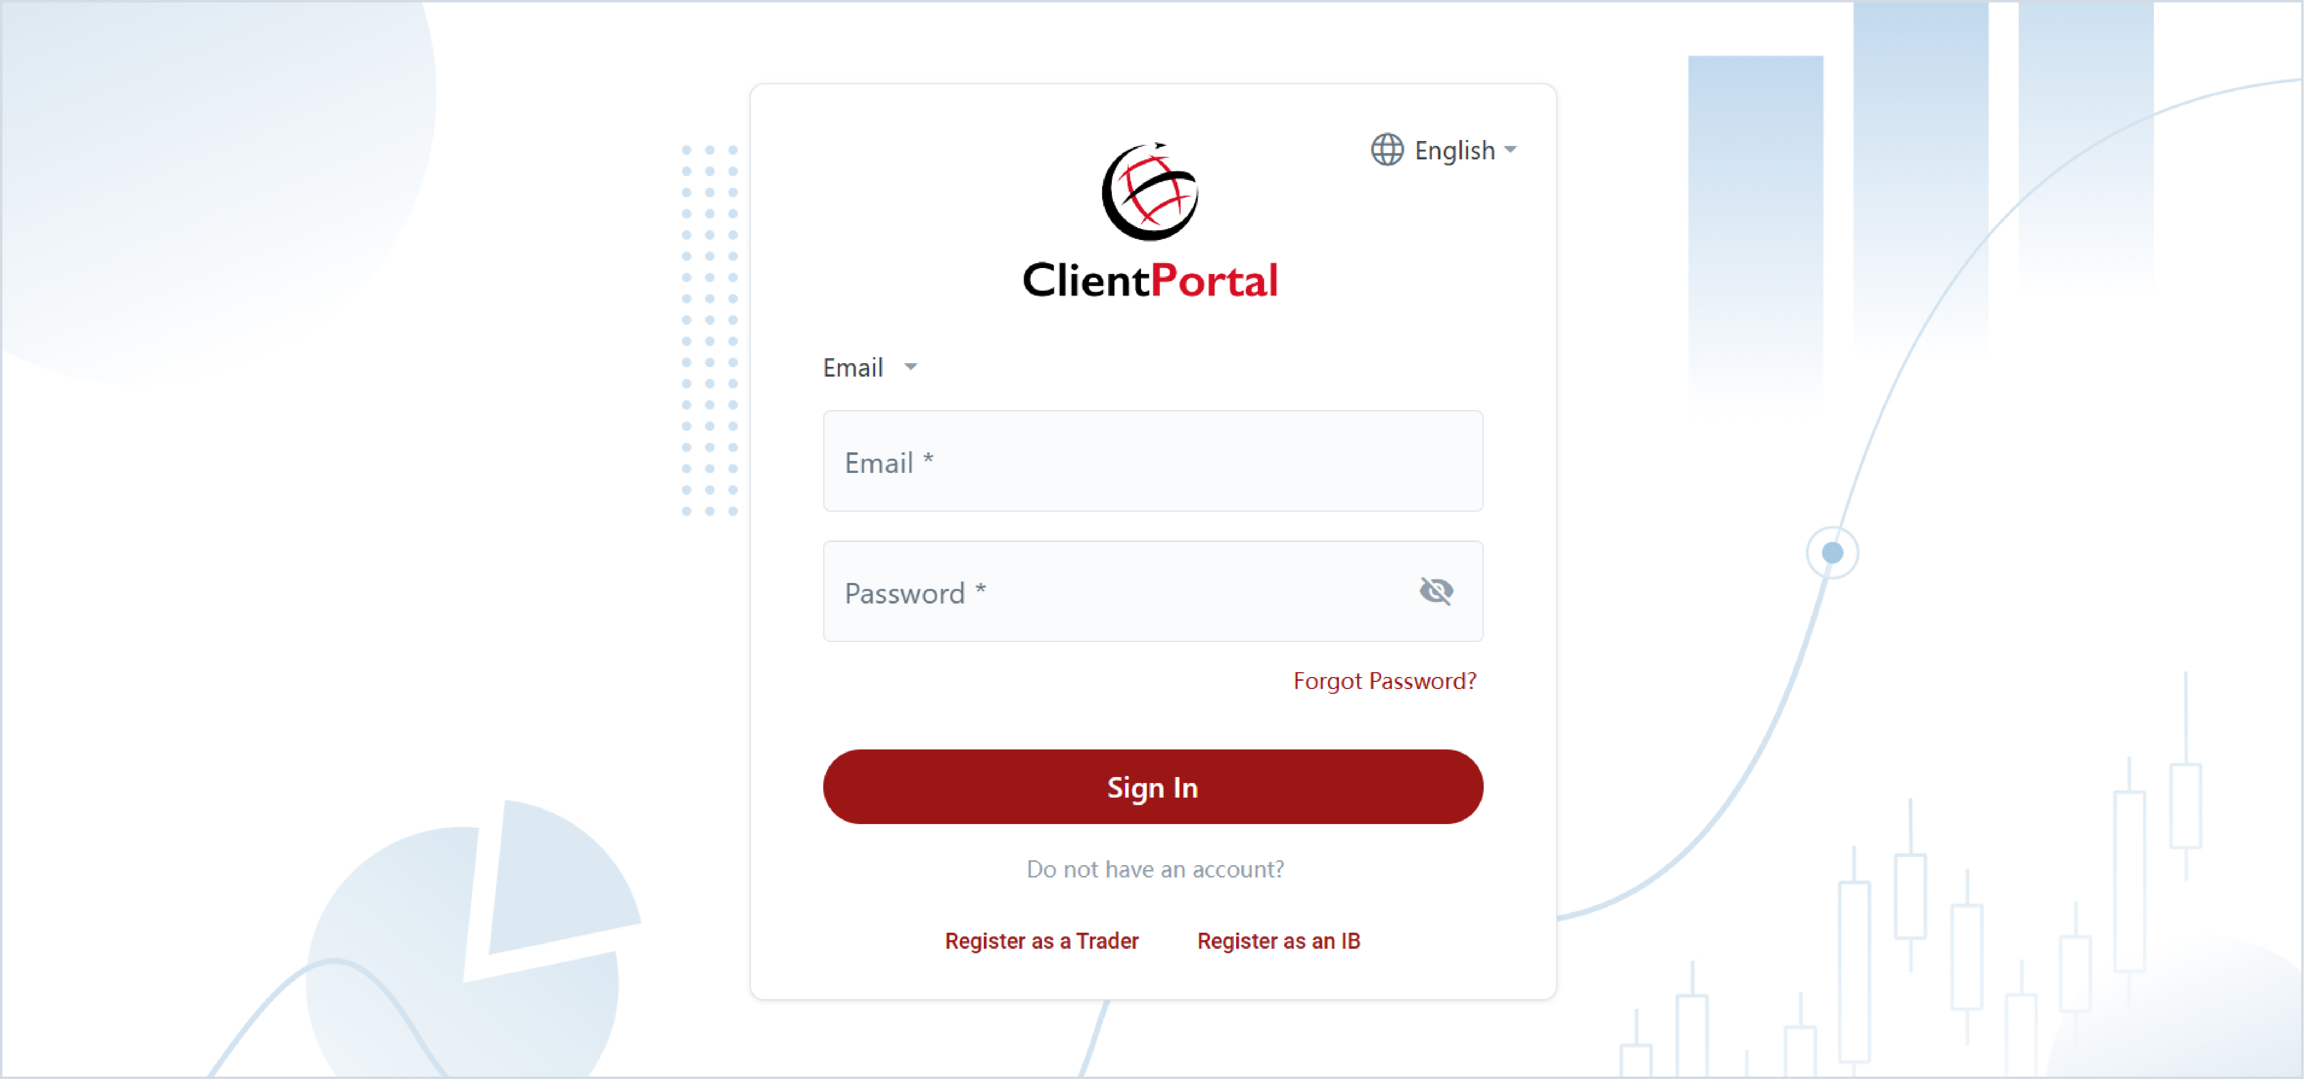
Landing Style: Choose the desired landing page style for your Prop Trading System - center, left, or right. This option allows you to customize the layout and positioning of the content on the landing page, making your CRM look more unique and tailored to your brand's aesthetics.
Center
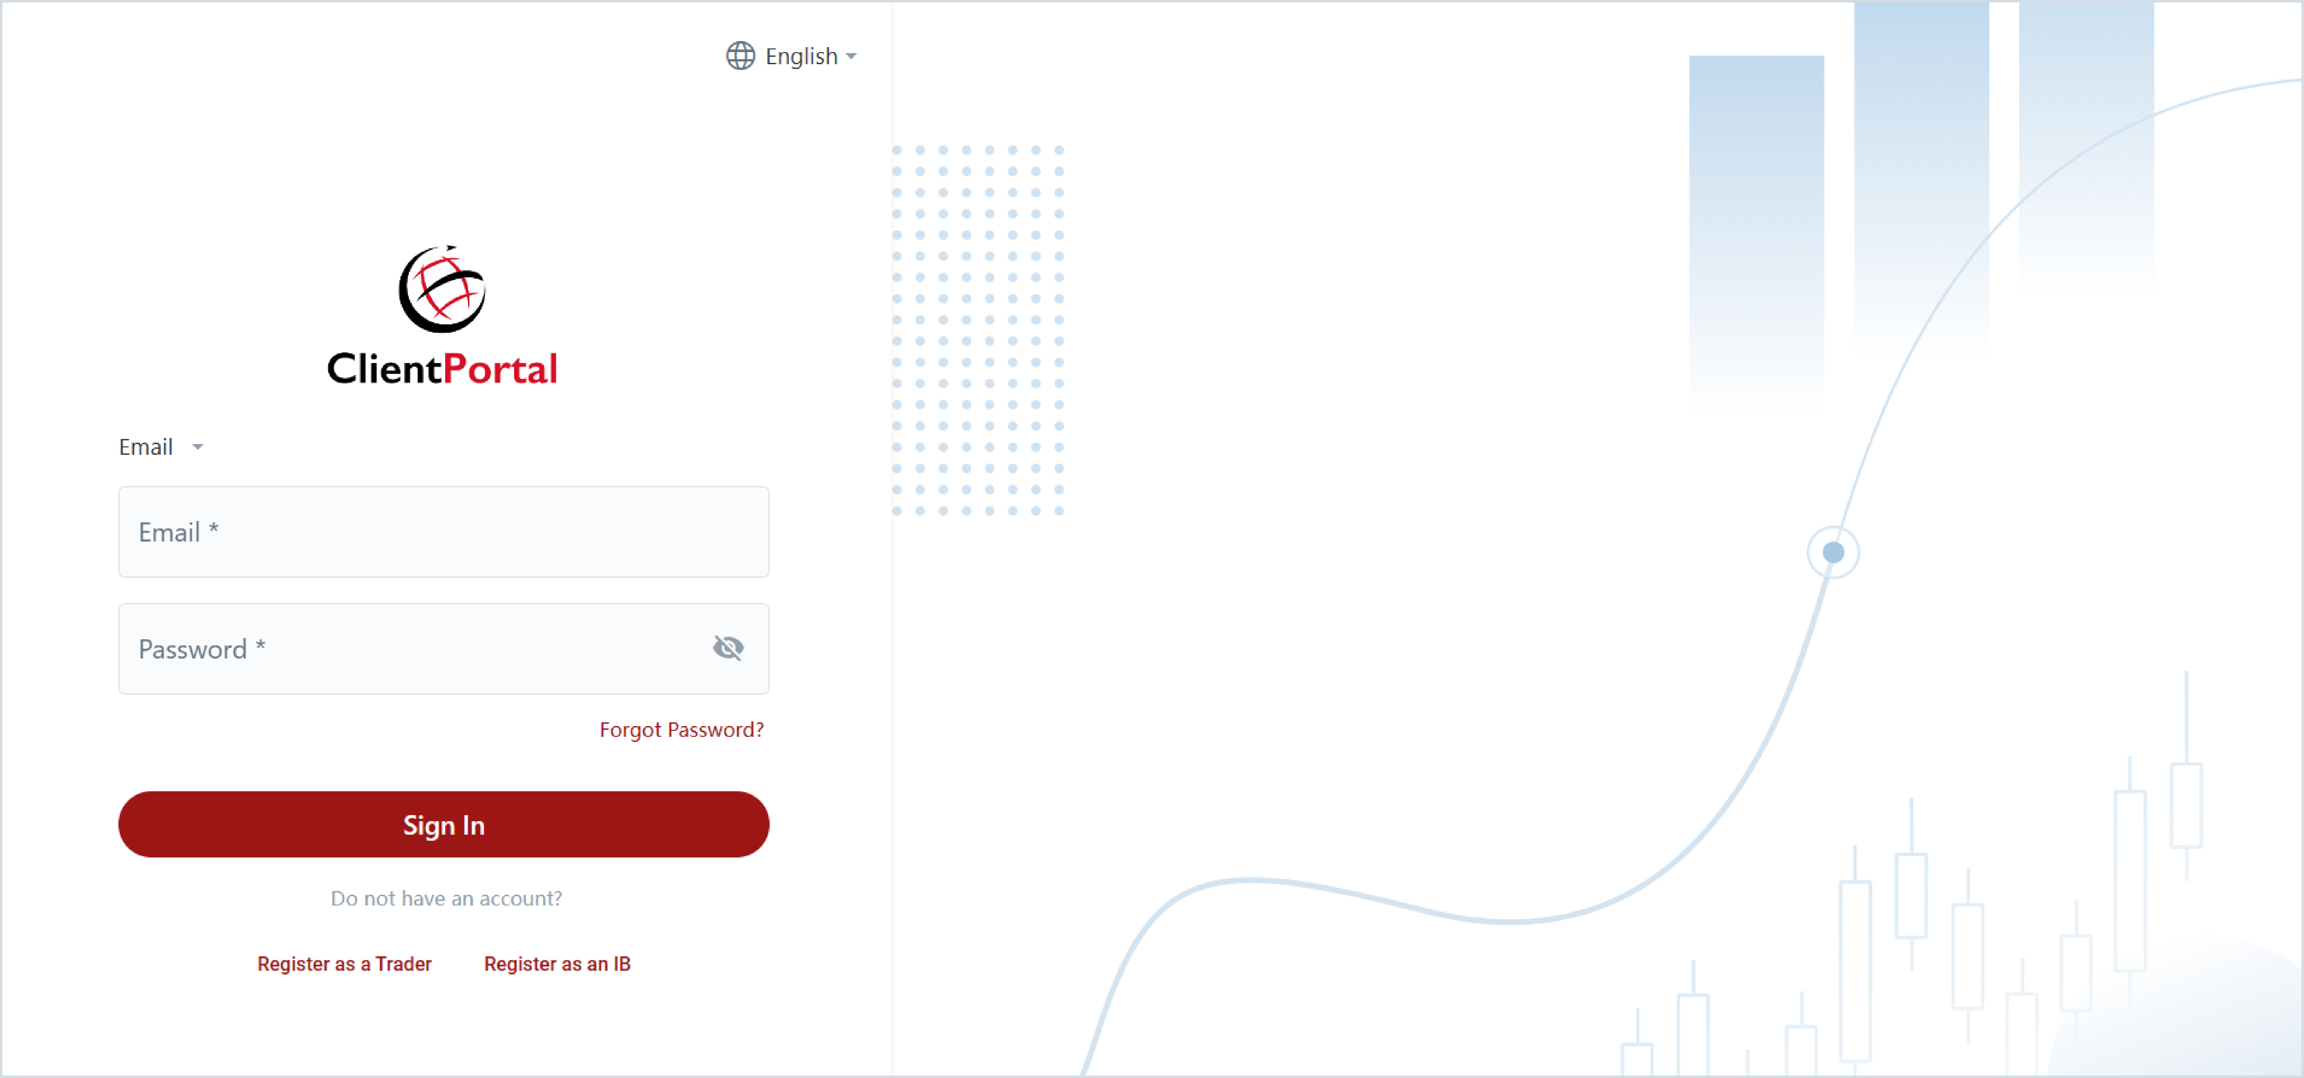
Left
Right

Last updated