# Form Section
In the IB registration form, you can create sections to organize and clarify the form for better usability.
### Creating Form Sections
To create a form section, follow these steps:
{% tabs %}
{% tab title="Step 1" %}
Click on the Settings Icon.
{% endtab %}
{% tab title="Step 2" %}
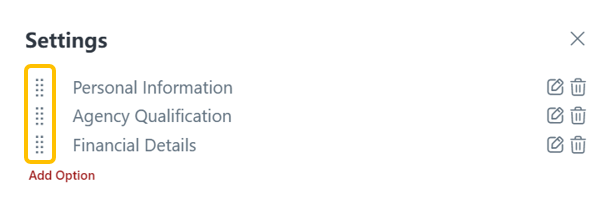
1. Select "Add Option".\

2. Enter the section name in the respective languages.
3. Click "Save".\

{% endtab %}
{% tab title="Step 3" %}
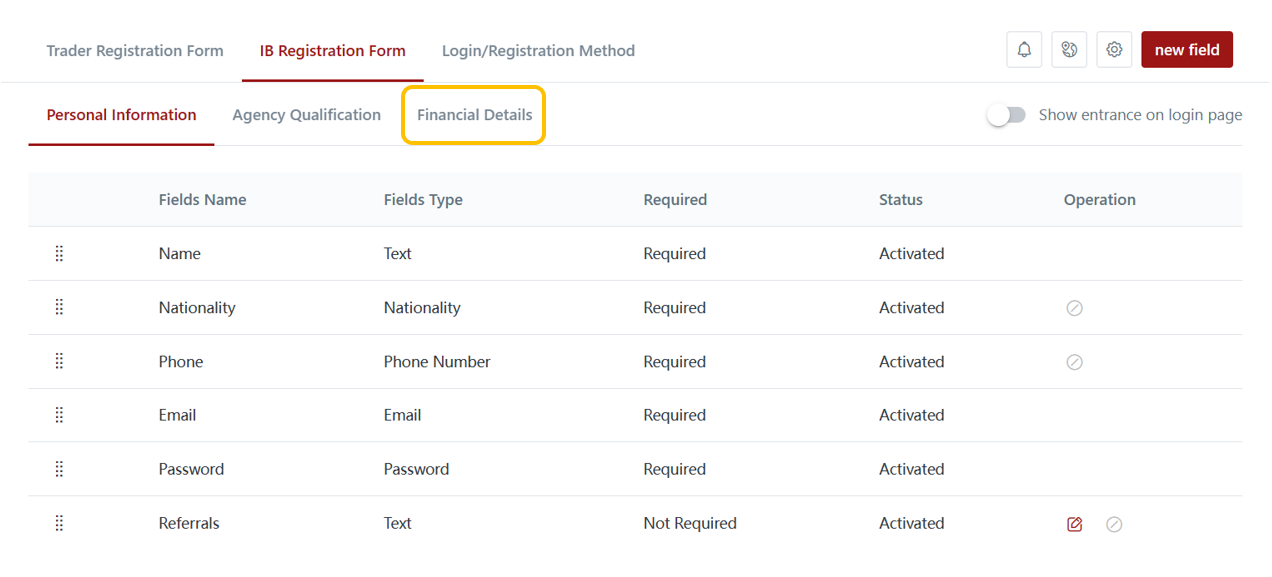
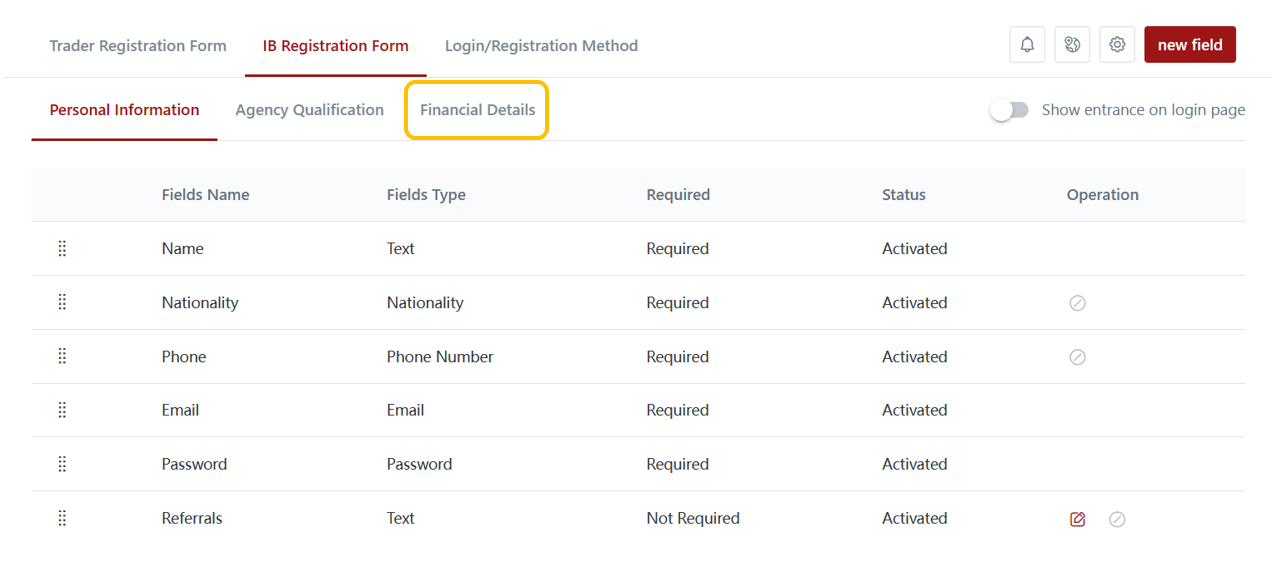
The new form section will be created, and a tab will be displayed, representing the new section.
{% endtab %}
{% endtabs %}
## Editing Form Sections
To edit a form section, follow these steps:
{% tabs %}
{% tab title="Step 1" %}
Click on the Settings Icon.
{% endtab %}
{% tab title="Step 2" %}
1. Locate the form section you want to edit and click on the Edit Icon.
2. Make the necessary amendments to the section.
3. Click "Save" to save the changes.
{% endtab %}
{% endtabs %}
### Deleting Form Sections
To delete a form section, follow these steps:
{% tabs %}
{% tab title="Step 1" %}
Click on the Settings Icon.
{% endtab %}
{% tab title="Step 2" %}
1. Locate the form section you want to delete and click on the Delete Icon.
2. A popup notice will appear.
3. Click "Confirm" to proceed with the deletion.
{% endtab %}
{% endtabs %}
### Sorting Form Sections
To sort form sections, follow these steps:
{% tabs %}
{% tab title="Step 1" %}
Click on the Settings Icon.
{% endtab %}
{% tab title="Step 2" %}
1. Locate the form section you want to rearrange.
2. Click and drag the form section to the desired location.
3. Release the mouse button to let go of the form section at the correct position.
{% endtab %}
{% endtabs %}
### Creating Fields for Form Section
To add fields to a form section, follow these steps:
1. Navigate to the desired form section where you want to include the new fields.
2. Click on "New Field" to begin the process of adding a field.
3. Follow the steps provided in this section [creating-new-fields](https://reference-guide.gitbook.io/crm-back-office-user-guide-full/crm-back-office-user-guide-full-cn/17.-settings/client-portal-login-registration-settings/registration-form/creating-new-fields "mention")
### Application
Once you have configured the registration form section and its respective fields, clients will have the convenience of viewing the form in segmented sections. This ensures that the form is presented to them in an organized and easily navigable manner, allowing them to provide the required information efficiently and effectively.